Showing posts with label renovations. Show all posts

Monday, July 2, 2018

Almost Finished...


The work on the new screened porch
continued last week 
and the end is in sight!


My initial plan was to use the wood floor
already there.
But after thought and discussion
it was decided a tile floor
would be more durable.
So I chose two I liked,
in a light gray.
Looking at them side by side,
they look almost identical,
but there were some subtle differences.


It helped to place them in the space and decide.


In a short while,
the chosen ones were in place 
with spacers.


Then grouted and finished!
The covers for the electrical plugs were also installed.


The ceiling fan has been installed.


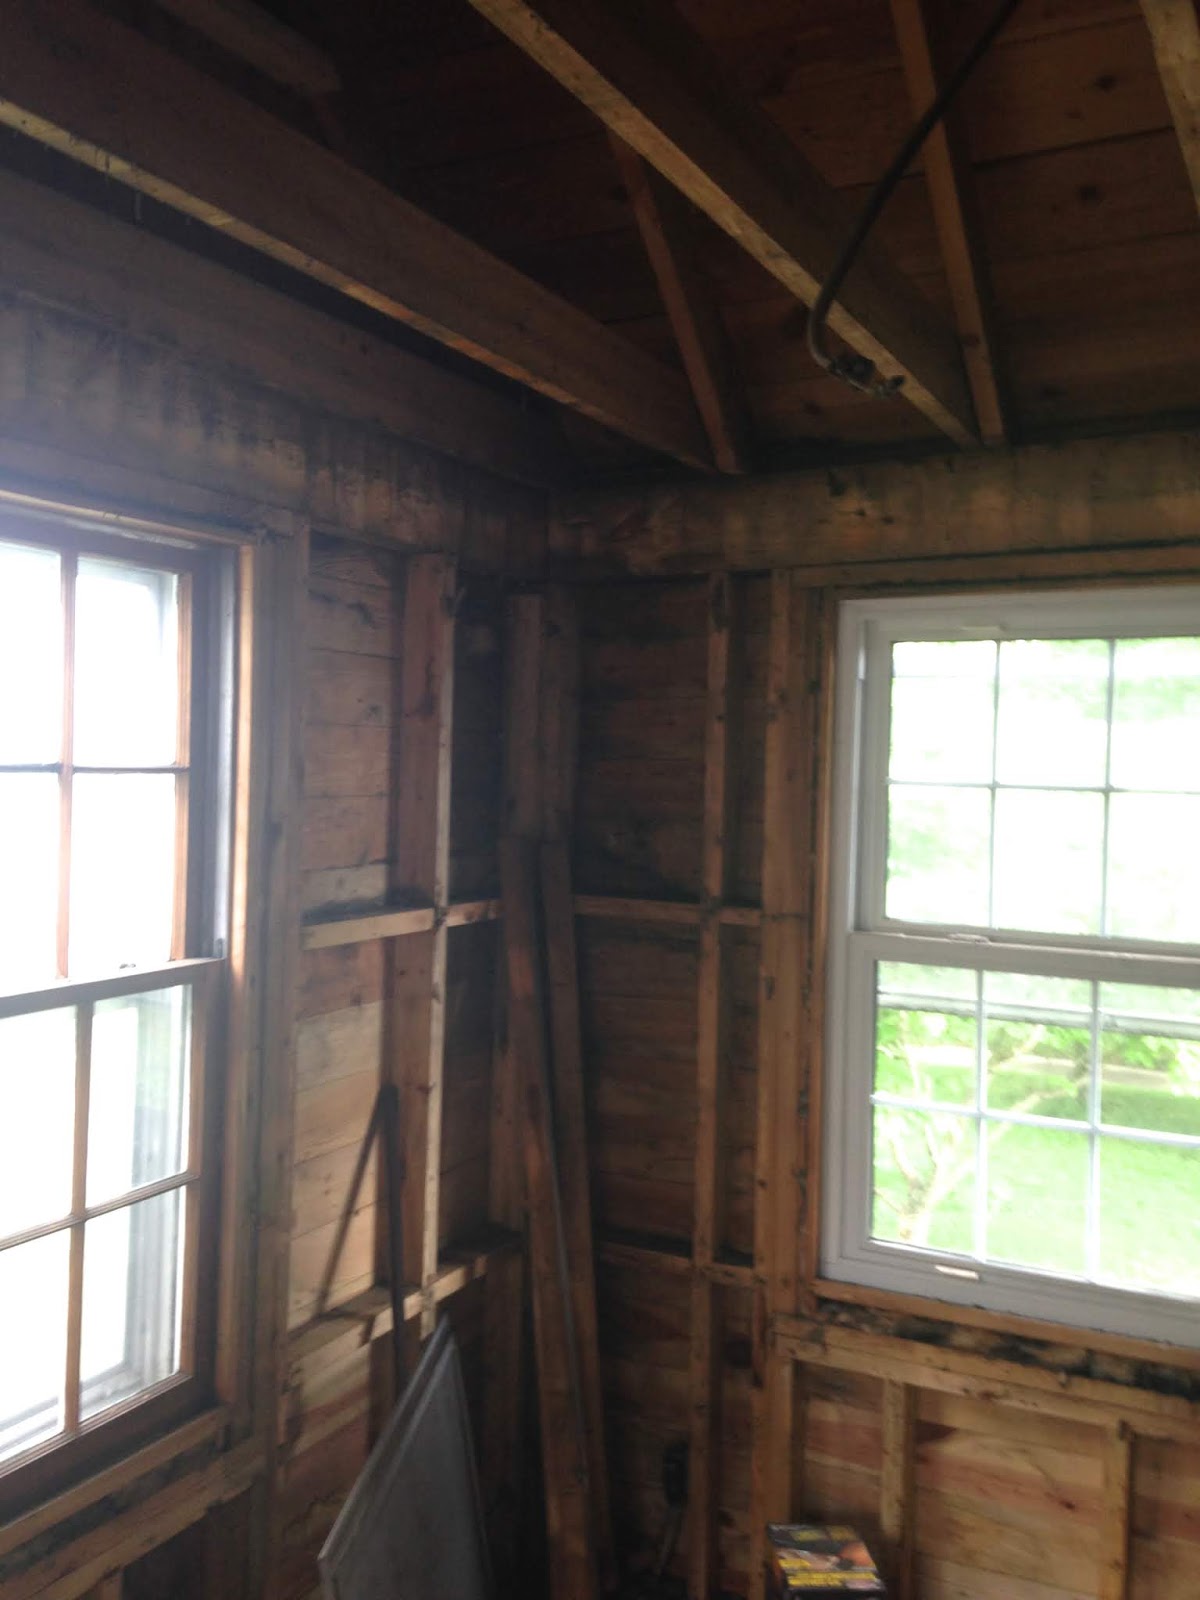
The black channels you see above will hold the screens
in place and be finished with a white cover.


The last bit of progress last week 
was that I ordered a replacement door
for the entrance to the porch.
It will not be ready for four or five weeks.
I am hoping the rest of the porch 
will be done before then!
The only real remaining job
is the installation of the screens.

Then, the real fun starts,
decorating it!

Friday, June 15, 2018

Big Do'ins at the Cottage


When the initial renovations
on my little Cape Cod were finished,
I decided perhaps one big project 
a year would be manageable.
I have passed my one year anniversary
in the house
and the time has come
for this year's project.
See the small white addition
on the side of the house?


This addition was a small
paneled room just off my living room.


Since I have only used it for 
storage since moving into the house,
I have decided the space
will be much more usable to me
as a screened in porch.


After planning and discussing 
this project with
my contractor, Jim
since early this year,


the project finally got started this week.


Jim has been stripping 
away the inside paneling.


The above pictures 
are how the room/porch
looked at the end of Day One.


By the end of Day Two
the ceiling had been stripped away.
I excitedly "played" with the idea
of leaving it open.
More on that later.


My original plan was to leave this 
wall covered with the paneling
and paint it.


 But after seeing the exposed brick
once the ceiling was gone,
I decided I like the
idea of it rather than a painted wall.


By the end of Day Two
we were down to exposed studs.


On Day Three
Jim began removing the
vinyl siding from the outside 
of the addition.


I have a small black room on the side of my house!


Yesterday, on Day Four
the walls actually started 
disappearing.


By the end of the day,
everything was clad with plastic.


I have a plastic room on the side of my house!

We are now on the fifth day of the project
and I can hear Jim hammering
as I type.
I'll keep you informed how we progress...

In the meantime,
have a lovely weekend!


Tuesday, February 20, 2018

One Year Ago Today...


...I titled a blog post,
referring to the purchase of
my house.
A whole year has passed,
and what a year it's been!
I kept you up to date on
the renovations and
although I still have 
at least a hundred more
"to dos"
the heavy lifting is done.

You've seen all the results,
except for the upstairs.


So welcome to the the second floor
and its small landing.
Closets flank either side of the window seat.
This house has plenty of storage.
One example is the window seat which is
actually a large, built in chest which opens.


To the left is the bathroom and my bedroom.


Remember how this bathroom
looked originally?


It's come a long way
with a new floor,


a new wall to house a shower,
(the tub is original)
subway tile shower surround,


and lots of bead board.
This baker's rack fits perfectly
behind the door
and serves as an
"open linen closet."


The bathroom is small,


so the addition of this little chest
gives me a bit of drawer space.


I discovered this mirror in a
consignment shop last
year during the renovations.
It was the perfect size
and with a coat of paint,
the perfect mirror for this space.
The doorway you see beyond
the bathroom is my bedroom.

 Remember this room?
Gone is the textured ceiling,
wallpaper and carpet.


The ceilings in the upstairs are all low,
but give the bedrooms a
cozy, cottage look.


This buffet used to live in the dining room of
my previous house.


There a little reading nook here,
for a white wicker rocking chair
which belonged to my grandmother.
It's actually my sister Nancy's chair,
but I'm keeping it until she wants it back.


The little door you see under the eave
is a small closet with shelves.


To the right, at the top of the stairs
is the guest room.
 This room had all the same
changes as my bedroom.


It's actually a larger room than the
one I am using,
and has three closets!


Another window seat
with built in storage is in this room.


Finally, on the opposite side from the bathroom
is what I have dubbed the "half bedroom."


This small room needed less work than
any of the upstairs rooms.
The ceiling was already smooth,
and there was no carpet or wallpaper
 to be removed.


 I'm still working on this room.
It has a built in twin bed
with drawers below it.
I have painted it.


I still have curtains to make and hang
in this tiny room.
There will not be space for much more
than this table and a chair.


 I am taking inspiration from this small
water color from FiFi Flowers,
who designed my business logo for me.

More on this room 
as it progresses.
Now you've seen the whole house.
I have plans for future improvements
and every week is an exercise
in tweaking.
Is a house ever finished?


I've done very little outside,
so that's a whole new canvas.
But, I do have crocus blooming!


Related Posts Plugin for WordPress, Blogger...