Showing posts with label chalk paint. Show all posts

Saturday, June 28, 2014

Distressing...


...as in "distressing" chalk painted furniture.
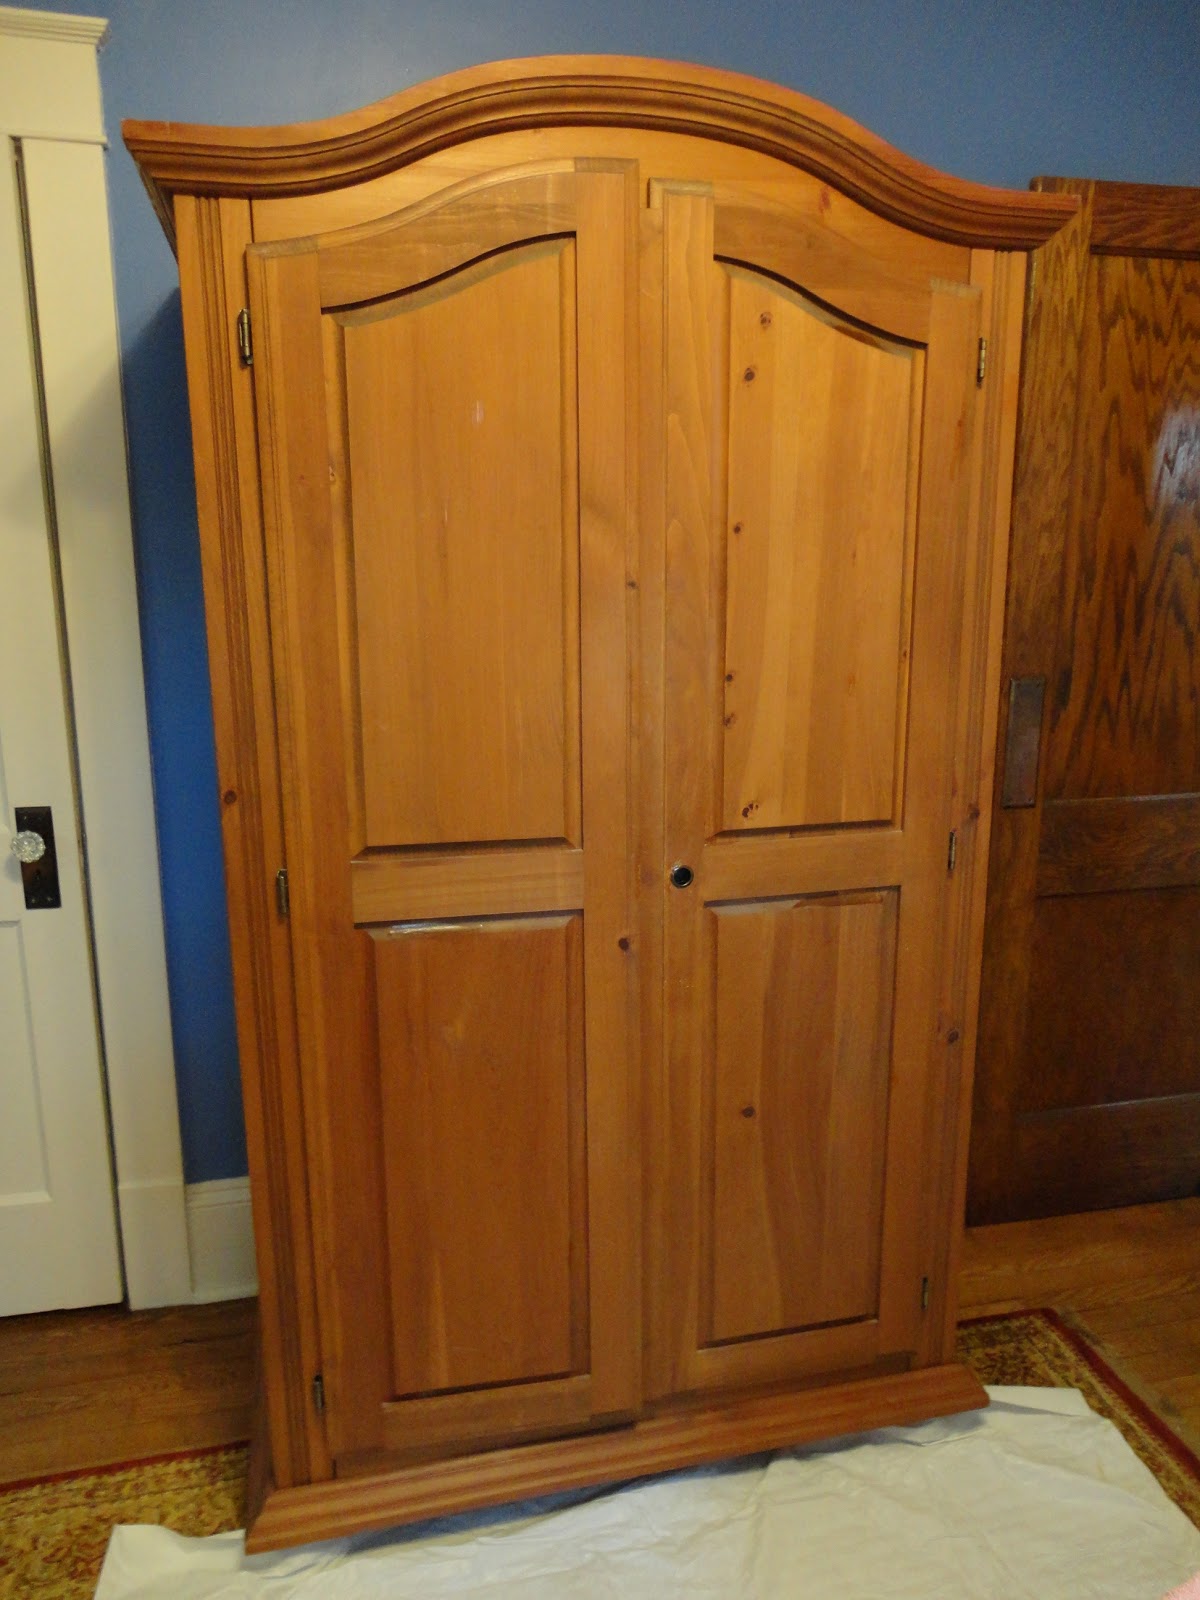
Some time ago I painted the above
It was my first attempt at chalk painting.
At the time I did not distress it.
To tell the truth the whole process of
distressing a piece of furniture
intimidated me.
Also, I liked the look of the newly painted,
pristine wardrobe.
So I opted to leave it as it was.


I did not put a coat of finishing wax on it either.
Now, after some time has passed and the
wardrobe has had daily use,


it had begin to become distressed on it's own!
So, I spent a little time last weekend,
took the plunge,
and distressed my wardrobe 
totally over to a shabby chic look.


Working with a fine grade sandpaper,
I started with the spots which were already
starting to show some wear.
Then I continued on a bit 
to the areas which might eventually
get worn.


I finished it with a coat of paste wax.
I am completely happy with the results.
And, an added plus with shabby chic furniture,
no more worries about it getting 
bumped or more worn!


Saturday, March 29, 2014

Chalk Paint Time…Again!


I have posted in the past about my ventures into chalk painting.
I'm still loving' my Yellow Painted Wardrobe!
Recently I've taken on a couple of other projects!


A few years ago I had this set of old french doors
backed with mirrors.
They lean against a wall in my narrow dining room,
giving an illusion of more space,
and adding light.
For the past year I have been trying 
to lighten up (i.e. get less brown in) my space here at
Buttermilk Cottage,
so I decided the doors 
would benefit from chalk paint!


I would have chosen the yellow of my painted wardrobe,
but the walls in my dining room are yellow,
so I decided upon a soft white for the doors.
I also already have a white painted buffet in this room.


Everything I know about chalk paint
I have learned from Sherry at No Minimalist Here.
She is a master at the technique,
so be sure to check out her blog.


One coat of chalk paint has never been enough
for the pieces I have done.
In fact, after one coat (above) 
I always have that moment  of,
"what have I done…"
But, it ALWAYS works out well!
For these doors I actually used three coats.


I opted not to distress the doors, 
but I did put a coat of finishing wax on them.


I am very pleased with my "lightened up" dining room!


I recently posted about my new/old office chair,
discovered on Etsy.


It was also a good candidate for chalk paint!


I chose soft white for it as well
and chose to do a bit of distressing on it.


Perfect chair for my office/sewing room!


No excuse for not being productive now!
I wonder if this icky, but very functional,
desk could benefit from some chalk paint…
hummm….

Linking this week at:
Metamorphosis Monday at Between Naps on the Porch
Tweak It Tuesday at Cozy Little House
Wow Us Wednesday at Savvy Southern Style
Open House Party Thursday at No Minimalist Here

Thursday, October 17, 2013

The Yellow Painted Wardrobe


Don't you just love it when a project
turns out as you envisioned it in your head?


An ongoing project for me since last year
has been to lighten up my house a bit.
This is the view from the front door 
inside my entrance.


I know,
a lot of brown,
a lot of wood.


I have had this wardrobe for a long, long time.
Its size is perfect for its space
and since I do not have a coat closet
it is a great place to hang my coat.
It is a given for me that I will not be
painting the oak wood that is a part of the house
(i.e. stairs, room divider, woodwork, etc).


So, I have been debating painting the wardrobe
since last Spring when I painted the one above,
in my bedroom.
Yes, I'll do it.
No, better not.
Yes, no, yes, no.
I've gone back and forth for months.
About two weeks ago something popped up 
on my Facebook feed from HOUSE BEAUTIFUL Magazine,
titled something like "How to Make Your Home Look Happy."
One of the suggestions was to add a "pop of color" 
to your entrance.
That was the just the push I needed.


I love the mustard yellow background
in one of the fabrics of my window treatments.
That was the color I would go for.  
I found it in Lowe's Valspar, "Autumn Moon."
I also decided I was going to use chalk paint
since I had had good luck with it with my
other wardrobe.


My chalk paint inspiration is from Sherry at
She's the expert and you can get more info 
about the technique from her.


So last weekend, I finally took the plunge.
The wardrobe is a BIG piece of furniture,
so it would have to be painted inside.
I emptied it out, 
moved it away from the wall,
and spread plastic.
Here goes.


First coat on.
This is always the point when I think,
"Have I made a horrible mistake???"
Carry on and paint another coat.


Then came the "distressing."
This was the step that gave me the most anxiety
since I had not done it before.
However, I watched several You Tube videos and
stoked my courage.

.
I could not be more pleased.
My test of success is,
if I saw this piece in an antique store,
what would I think of it?
My answer,
"Wow, that piece would be PERFECT

Wednesday, April 3, 2013

Taking the Plunge with Chalk Paint


I love the look of painted furniture,
but have never had the nerve to give it a try.


Until now...
At the beginning of this year
I decided I had too much brown in my house
and planned to lighten things up as bit.

Although this pine wardrobe is
too big for my bedroom, where it resides...


...it serves as fabric storage.
(We won't discuss the messiness,
it's on my "To Do" list.)
So, I can't get rid of it.
But let's face it,
there's a LOT of brown here.

I've been a long time follower of Sherry at
and been totally inspired by her painted furniture.
She even gives a tutorial about making your own
So with notes from Sherry's blog in hand,
I took the plunge and painted my wardrobe.


As mentioned earlier,
this wardrobe is big,
and heavy (it also houses an old style television).
So I had to work with the wardrobe in place.
I spread lots of plastic over the floor and rugs.


More plastic was draped inside,
over the fabric.
I did not paint the inside of the wardrobe.
That's a job for another time...
another lifetime...


Too late to turn back now.


First coat is on.
It was a little scary at this point
because, quite frankly, it didn't look good
I guess that's why God invented second coats.


Second coat on and finished!!!
I'm not giving a lot of details on "how-to" here
because you can find much more in-depth
instructions from those
much more expert at it than me
here in blogland.
I haven't done any distressing on it yet either.
I'm thinking I'll live with it like this for a while.
I think the distressing is where the real
artistry comes in and thus far
I have a fear ruining what I've got.


And for now,
I'm loving how it has lightened up my bedroom!
(Thank you Sherry!)

This week I'm linking with
The Open House Party at
No Minimalist Here
Related Posts Plugin for WordPress, Blogger...